

A beautiful garden deserves beautiful lighting. But there is one thing that can quickly ruin the look of an outdoor lighting installation: visible cables everywhere.
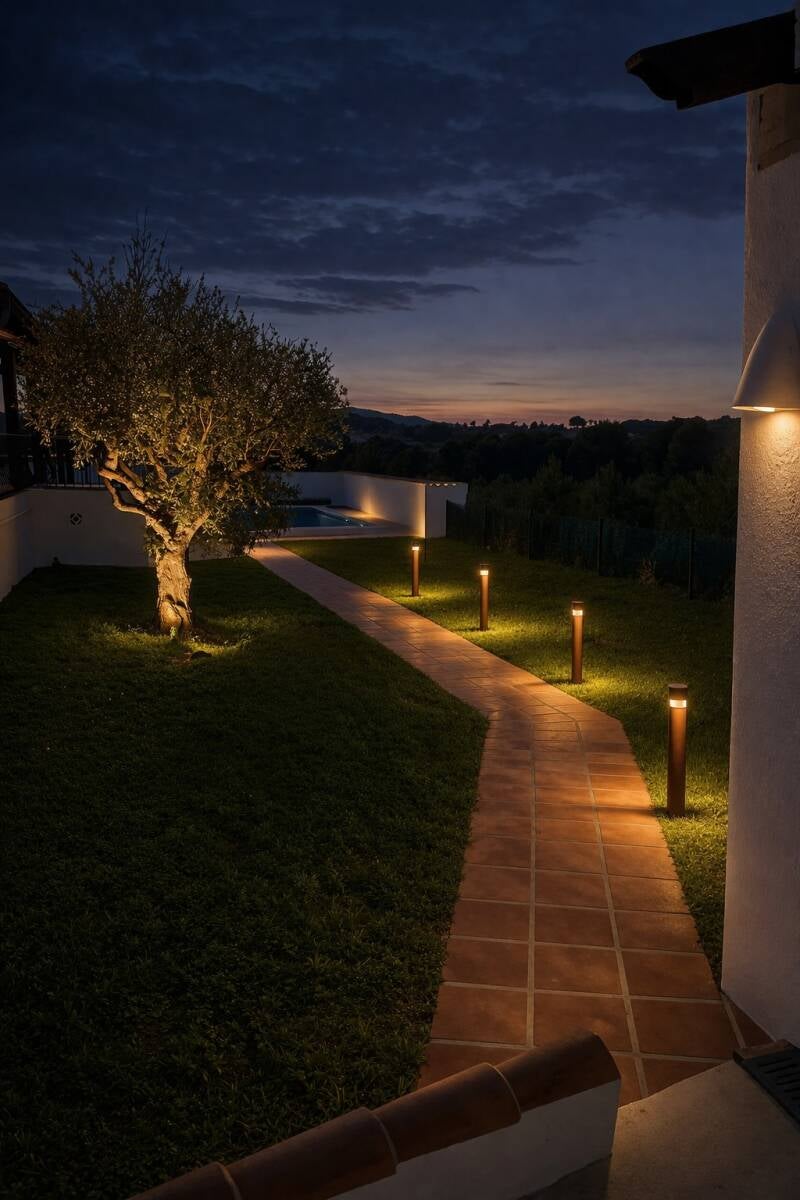
The good news is that a 24V garden lighting system can be planned in a simple and organised way. With the right layout, cables, connectors and transformer, you can create a clean lighting installation without turning your garden into a maze of wires.
At SmartGardenXL, we believe outdoor lighting should look effortless. The lighting should be visible. The cables should not.
Why choose a 24V garden lighting system?
24V outdoor lighting is a popular solution for modern garden lighting because it allows you to create flexible lighting installations using a low voltage system.
A typical installation follows a simple structure:
230V power supply → 24V transformer → main cable → T connector → garden lights
This makes it possible to position lights throughout different areas of your garden without needing a separate power connection for every lamp.
Many SmartGardenXL outdoor lights are designed specifically for a 24V cable system, making it easy to create a clean and consistent lighting plan. (SmartgardenXL)
Step 1. Start with a lighting plan
Before installing any cable, decide where you actually want light.
Walk through your garden during the day and identify the features you want to highlight at night.
Think about:
Trees
Plants and borders
Garden paths
Terraces
Driveways
Garden walls
Fences
Entrances
Outdoor seating areas
Swimming pools
You do not need to illuminate everything.
In fact, a garden often looks more attractive when you combine illuminated areas with darker areas. This creates depth and makes the lighting feel more natural.
Mark the position of every light on a simple garden plan. Then draw the most logical cable route between the lights.
This simple step can save a lot of time later.
Step 2. Decide where to place the transformer
The transformer is the starting point of your 24V lighting system.
SmartGardenXL offers 24V transformers in different capacities, including 36W, 60W and 100W. The correct size depends on the total power consumption of your lights. (SmartgardenXL)
For example, if you have ten garden lights using 4W each, the total load is 40W. A 60W transformer would provide suitable capacity for this installation.
As a general planning principle, avoid running a transformer permanently at its maximum capacity. SmartGardenXL recommends keeping the load below 80% for optimal efficiency and longevity. (SmartgardenXL)
Place the transformer somewhere that is:
Protected from unnecessary exposure
Accessible for maintenance
Close enough to the beginning of your lighting installation
Suitable for the electrical installation
The transformer should also be installed according to the manufacturer’s instructions. For example, the SmartGardenXL 100W transformer is IP67 rated and should be mounted horizontally. (SmartgardenXL)
Step 3. Plan your main cable route
This is where you can make the biggest difference between a professional-looking installation and cable chaos.
Instead of running a separate cable from every lamp back to the transformer, plan a main cable route through the garden.
For example:
Transformer → main cable → T connector → lamp
Then continue the main cable to the next lighting point.
This means you can create several lighting points along one organised route.
The exact cable layout depends on the garden, the number of lights and the manufacturer’s installation requirements, so always check the specifications of the lighting system before installation.
Step 4. Use T connectors to create clean branches
T connectors are extremely useful when you want to connect individual lights to the main cable.
Instead of creating a complicated collection of cable connections, you can create organised branches from your main route.
For example:
Main cable
↓
T connector
↙ ↓ ↘
Light Light Light
This is particularly useful around borders, terraces and pathways where several lights are positioned close to one another.
SmartGardenXL offers dedicated 24V T connectors for its cable system. (SmartgardenXL)
Step 5. Choose the right cable length
Good cable planning starts with accurate measurements.
SmartGardenXL offers 24V power cables in several lengths, including:
This allows you to choose a cable length that suits the layout of your garden rather than having unnecessary cable lying around. (SmartgardenXL)
Before ordering, measure the approximate distance between the transformer, connectors and lighting points.
It is also worth allowing a little extra cable where necessary so connections can be positioned neatly and maintenance remains possible.
Step 6. Hide the cables properly
A professional garden lighting installation should look clean both during the day and at night.
Where possible, route cables along natural lines in the garden.
For example, cables can often be positioned:
Along borders
Behind planting
Along fences
Beside paving
Under suitable garden surfaces
Inside protected cable routes
Avoid simply placing cables across open areas where they can become visible, damaged or create a trip hazard.
When burying or protecting cables, always follow the installation instructions and local electrical requirements applicable to your installation.
Step 7. Calculate the total power consumption
Before choosing your transformer, add together the wattage of all the lights in the installation.
For example:
10 × 2.2W = 22W
10 × 3.2W = 32W
10 × 5W = 50W
This gives you the total connected load.
The SmartGardenXL range includes different transformer capacities, so you can choose a transformer that matches your installation rather than using one oversized or undersized unit. (SmartgardenXL)
Step 8. Think about the garden as zones
One of the easiest ways to create a professional lighting plan is to divide your garden into zones.
For example:
Zone 1. Entrance
Use subtle lighting to guide visitors towards the front door.
Zone 2. Terrace
Create a warm and comfortable atmosphere around your seating area.
Zone 3. Borders
Use smaller lights to highlight plants and create depth.
Zone 4. Trees
Use directional LED spots to bring larger trees and architectural features to life.
The SmartGardenXL Small Calla range, for example, offers different beam angles and light ranges, including models reaching up to 8 or 12 metres. (SmartgardenXL)
Zone 5. Pathways
Use low-level lighting to create a clear route through the garden without over-lighting the entire area.
The secret to a clean 24V garden lighting installation
The best outdoor lighting installations are not necessarily the ones with the most lights.
They are the ones where everything has been planned.
Choose the lighting positions first.
Calculate the total wattage.
Choose the right transformer.
Plan the main cable route.
Use T connectors where branches are needed.
Measure the required cable lengths.
Then install and hide the cables carefully.
The result is a garden that looks beautifully lit at night and completely uncluttered during the day.
Create your own 24V garden lighting system
With the right components, a 24V outdoor lighting system can be built around the way your garden is actually used.
Start with the lights you want to use, then build the system around them with the right transformer, cables and connectors.
At SmartGardenXL, you can find the components you need for a complete 24V garden lighting installation, from outdoor LED lights and transformers to power cables and T connectors. (SmartgardenXL)
Explore our 24V outdoor lighting and create a garden that looks just as impressive at night as it does during the day.